
Last updated October 30, 2026
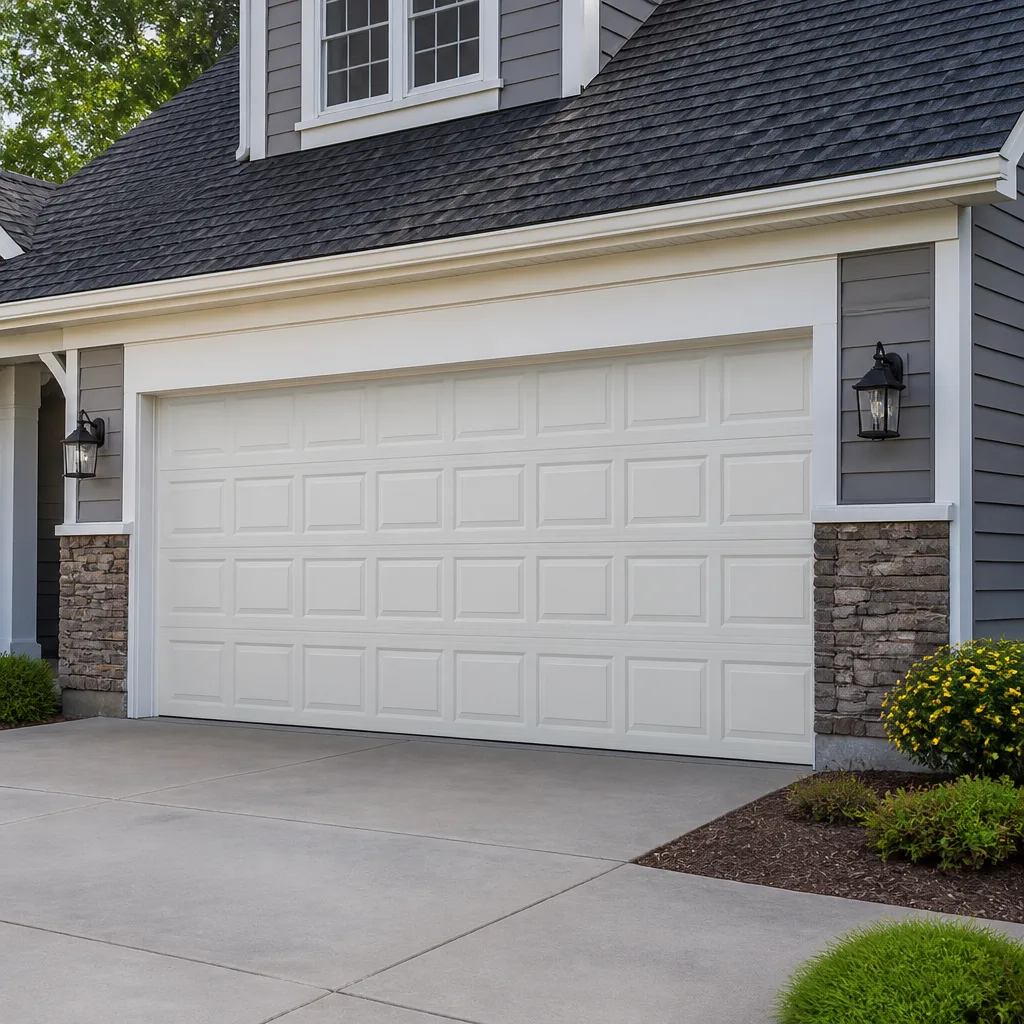 Raised-panel steel
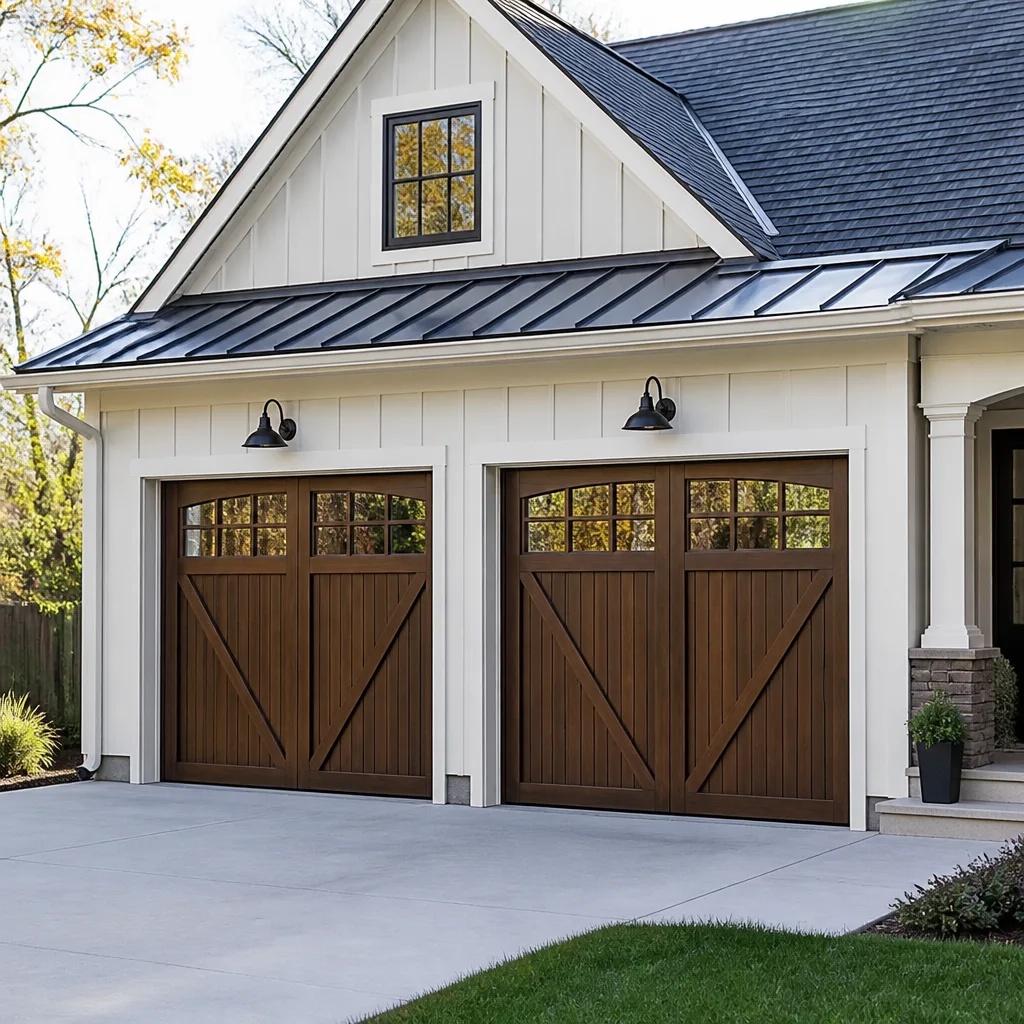 Carriage house
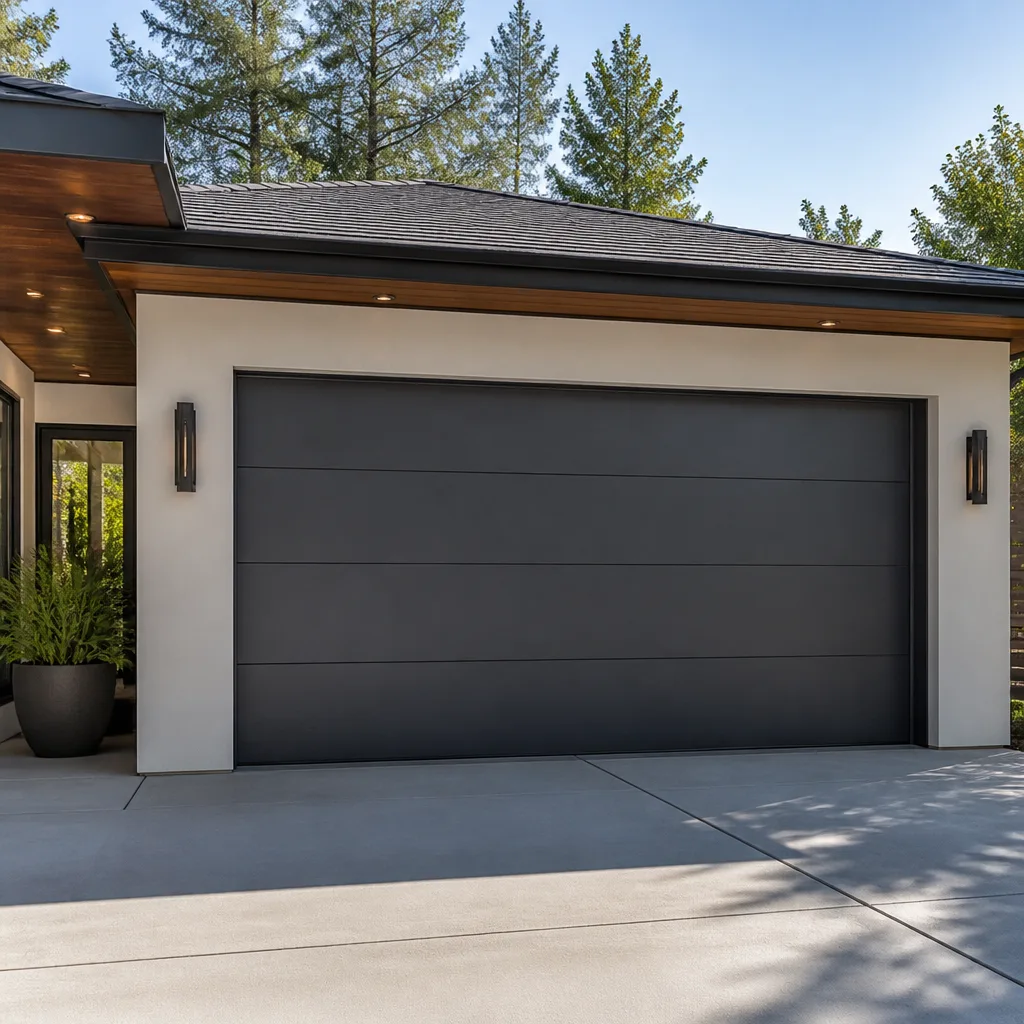 Modern flush
 Full-view glass
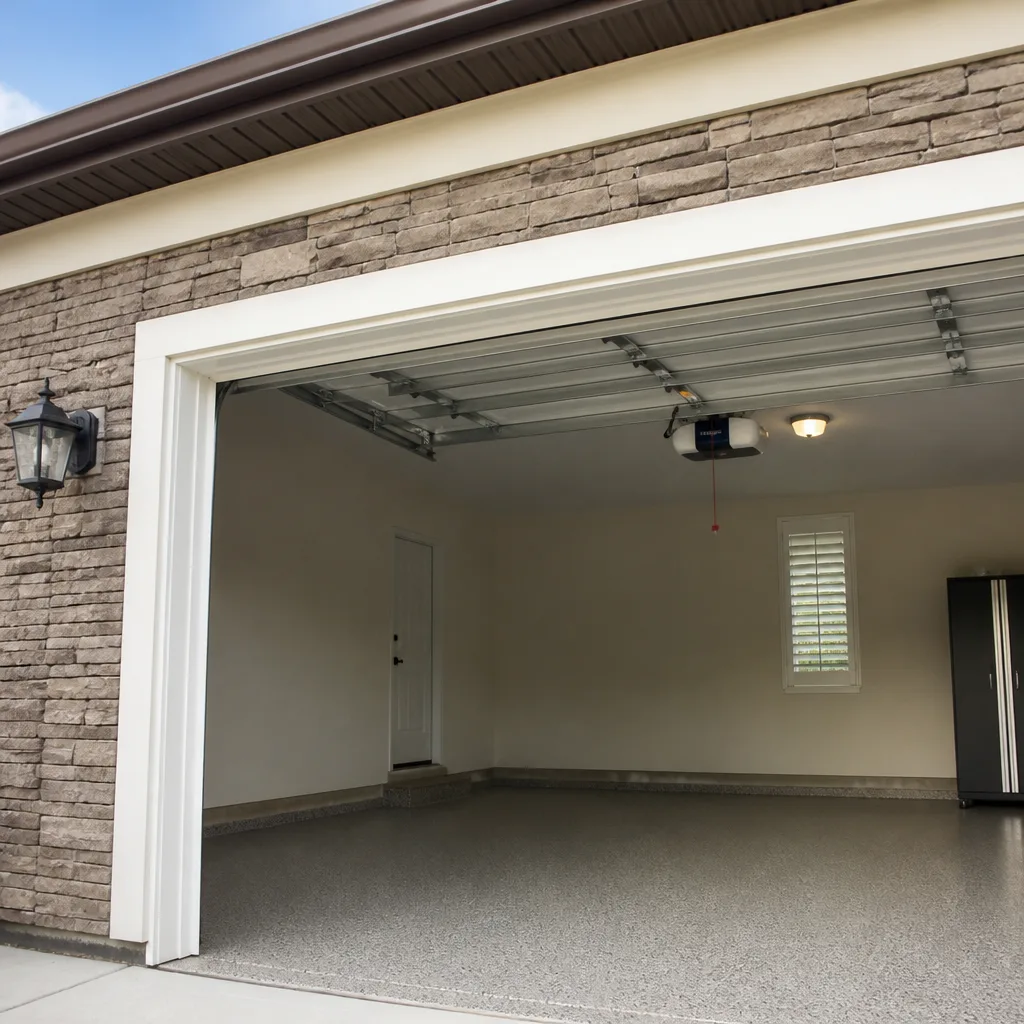 LiftMaster openers
 Chamberlain openers
Full 25-point door and opener safety check with every visit - springs, cables, rollers, tracks, and your LiftMaster or Chamberlain opener included
You get a price before we start. It does not change when the truck arrives.
Get your free estimateGarage Door Repair Troubleshooting: Common Problems and How to Fix Them
Replacing safety sensors because your door won’t close fully is the single most common expensive mistake homeowners make. The actual culprit? A bent track making the door bind at the same spot every time. Here’s the reality we deal with every week in Hollywood: the same symptom can have six different root causes requiring six completely different fixes. Most troubleshooting guides hand you a symptom-to-fix list. This one teaches you to follow the diagnostic chain instead. By the time you finish reading, you’ll know how to distinguish an opener problem from a spring problem from a track problem using visual checks alone, before you touch anything.
Quick Answer
Garage door troubleshooting starts with one question: does the door move at all, and if so, what happens when it does? A door that won’t budge usually points to a broken spring, disconnected opener, or power issue. A door that moves then stops or reverses points to sensor misalignment, track obstruction, or force-setting problems. Listen first, look second, and touch nothing that holds tension until you know what you’re dealing with.
Styles & brands we work with
Table of Contents
- The Branching Diagnostic: Start With What the Door Actually Does
- Is It the Opener, the Spring, or the Track? Visual Checks First
- Decoding Error Codes on LiftMaster, Chamberlain, and Craftsman Openers
- How to Test a Spring Without Releasing Tension
- Door Reverses Before Closing: The Six-Cause Diagnostic Chain
- Working Fine, One Cycle Away From Failure: Signs to Catch Early
- Noise as a Diagnostic Tool: Grinds, Rattles, and Squeals
- Uneven Movement: Cables, Drums, and Track Alignment
The Branching Diagnostic: Start With What the Door Actually Does
Before you start guessing at parts, run the door through one full cycle and categorize what you see. This is the approach we use on every service call in Hollywood, whether the door is a Wayne Dalton or a Raynor. The behavior falls into one of four buckets, and each bucket narrows the search dramatically.
- Won’t move at all. The door doesn’t respond to the wall button or the remote. No sound, no movement. This points to power, opener logic board, or a broken spring that’s left the door too heavy for the opener to lift. Check the opener’s power supply first, then the emergency release cord to see if the door moves manually.
- Moves, then stops. The door starts to open or close, then halts partway and sometimes reverses. This usually means the opener’s force sensor is tripping because something is binding, or the travel limits are set wrong. Track obstruction, a failing roller, or a spring that’s lost tension all cause this behavior.
- Moves, but makes noise. The door completes its cycle but grinds, squeals, rattles, or pops while doing it. Noise tells you where friction is happening. A squeal points to rollers or hinges. A grinding sound points to the opener gear or chain. A pop is often a spring or cable releasing tension.
- Moves unevenly. The door tilts, jerks, or hangs at an angle while moving. This points to cable problems, a broken spring on one side, or track misalignment. An uneven door is a safety hazard because the tension system is compromised.
Each of these four paths leads to a different diagnostic chain. The goal is to follow the path the door’s behavior puts you on, rather than jumping to the most advertised fix. In our experience serving Hollywood homeowners, roughly half of all “opener problems” turn out to be door hardware problems once you run this branching diagnostic properly.
Is It the Opener, the Spring, or the Track? Visual Checks First
Before you touch anything that moves, run three visual checks. These take less than two minutes and will tell you which system owns the failure. We use this exact sequence on any garage door repair in Hollywood call before we open a single panel.
Check 1: Pull the Emergency Release Cord
Pull the red emergency release handle hanging from the opener rail. This disconnects the door from the opener carriage. Now try to lift the door by hand.
- Door lifts easily and stays open. The door hardware is fine. Your problem is in the opener: power, logic board, travel limits, or force settings.
- Door is heavy or won’t lift. The spring has failed or lost tension. The opener was likely working against a dead spring, which is why it stopped. Do not try to force the door open. A broken spring on a heavy door can cause the door to slam shut.
- Door lifts partway, then catches or binds. You have a track obstruction, bent track, or failing roller. Find the point where it catches and inspect that exact spot.
This single check answers the opener-versus-spring-versus-track question in about thirty seconds. It’s the fastest diagnostic shortcut that exists, and it’s the one most guides skip.
Check 2: Look at the Spring Above the Door
If you have a torsion spring system mounted on the header above the door, look for a visible gap in the spring coil. A broken torsion spring almost always shows a clean break with a gap somewhere along the coil. If you see a gap, the spring is done. If you see two springs and only one has a gap, both still need replacement because they were installed as a matched pair and have the same cycle count.
If you have extension springs along the horizontal tracks on either side of the door, look for a spring that’s stretched out or separated. A broken extension spring will hang loose and sometimes have a visible break in the coil.
Check 3: Inspect the Track and Rollers
Stand inside the garage and look down both vertical tracks. Look for gaps between the roller and the track, visible dents, or track sections that look pinched. A track that’s bent even a quarter inch can cause the door to bind at the same point every cycle. Run your hand along the track, but only where the door is fully open or fully closed. If you feel a dent or a dip, that’s your binding point.
These three checks give you a system-level answer without removing a single part. If the door moves freely by hand but not under power, the opener owns the problem. If the door won’t move by hand, the spring or track owns it. That distinction saves hours of guessing and hundreds of dollars in wrong parts.
Decoding Error Codes on LiftMaster, Chamberlain, and Craftsman Openers
LiftMaster, Chamberlain, and Craftsman openers share the same parent company and use similar logic boards. Their error codes get oversimplified in owner’s manuals, which is why we see so many Hollywood homeowners replace boards that were never the problem. Here’s what the codes actually indicate.
The Up Arrow / Down Arrow Flashes
- 1 flash up, 1 flash down: Sensor wire is shorted or the sensors are misaligned. But here’s what the manual skips: a short in the sensor wire can be intermittent, triggered by the wire rubbing against a moving part. Check the wire path before replacing the sensors.
- 2 flashes up, 2 flashes down: Sensor wire is open, meaning a wire is disconnected or cut. This often happens after someone bumps the sensor bracket with a ladder or a car bumper. Check the wire connection at the sensor itself before touching the opener.
- 3 flashes up, 3 flashes down: The opener’s force setting tripped. This means something physically stopped the door, or the spring has weakened and the opener had to work harder than its program allows. The door is usually heavy. This is a spring symptom wearing an opener error code.
- 4 flashes up, 4 flashes down: The safety reversal system failed a self-test. This can mean the sensor eyes are dirty, the wire has high resistance, or the logic board’s safety circuit is failing. Clean the sensor lenses first, then re-run the opener.
What the Manuals Oversimplify
Most manuals tell you “adjust the force setting” when you see a force-related code. The manual assumes the door is balanced and the only variable is the opener setting. But if your spring is six years old and has lost tension, raising the force setting masks the real problem and puts the door on a path to a sudden spring failure. In our experience, a force code on a LiftMaster opener is more often a tired spring than an underpowered opener. The code tells you where the symptom is, not what the cause is.
For garage door opener repair in Hollywood, we treat error codes as a starting point, not a diagnosis. The code narrows the system. The visual checks confirm the cause.
How to Test a Spring Without Releasing Tension
Most guides tell you to check the spring by looking at it. But visual inspection misses a spring that has lost tension without visibly breaking. A tired spring can look intact and still cause the opener to trip its force sensor. Here’s a tension test you can run safely without touching the spring or releasing any of its stored energy.
The Opener Assist Test
Here is the test. Run the door through one full open cycle using the opener. Then pull the emergency release and try to lift the door manually. If the door is very heavy from the moment you start lifting, the spring has lost significant tension. If the door feels manageable for the first foot and then gets heavy, the spring still has partial tension but is approaching failure. If the door feels nearly weightless and stays open on its own, the spring is doing its job.
Do not attempt to measure spring tension by hand if the door is already disconnected and partially open. A door with a failed spring can drop fast. If the door feels heavy or you’re not sure, leave the emergency release pulled and call a pro through our Garage Door Repair services. High-tension springs hold hundreds of pounds of stored force, enough to cause serious injury if they release suddenly. This is one repair where the diagnostic stops at identification, and the fix belongs to a trained technician with the right winding tools.
We carry replacement springs for every major brand including Wayne Dalton’s proprietary TorqueMaster system and standard torsion setups on Raynor doors. If your test shows a dead spring, write down the door’s brand and the spring color marking if visible. That detail helps the tech arrive with the right part on the first trip.
Door Reverses Before Closing: The Six-Cause Diagnostic Chain
The single most reported door problem in Hollywood is a door that starts to close, then reverses back up before reaching the floor. Most people replace the safety sensors and call it done. About half the time, the sensors were never the issue. Here’s the full diagnostic chain we follow, in order, for a door that reverses before closing.
Cause 1: Photo Eye Misalignment or Blockage
Dirty lenses, a bumped bracket, or a leaf blocking the beam. Clean the lenses with a dry cloth, make sure both sensors point at each other, and check that the small indicator lights on the sensors are both solid. A blinking light on either sensor means the beam is interrupted. This is the easiest fix and the right one maybe 40 percent of the time.
Cause 2: Broken Tension Spring
When a spring breaks, the door is suddenly much heavier. The opener’s force sensor detects the extra load and reverses to protect the door. If you heard a loud pop like a firecracker in the garage at some point, check the spring for a visible gap. The fix is a spring replacement, not a sensor adjustment.
Cause 3: Track Obstruction at the Same Point
A dented track or a loose bolt protruding into the track path will stop the door at the same spot every time. Watch the door as it closes. If it always reverses at the exact same height, that’s a mechanical bind, not an electrical sensor issue. Find the obstruction at that height. This is the one that quietly gets missed because people replace sensors, the problem persists, and now they’re out the cost of the sensors plus the actual fix.
Cause 4: Travel Limit Setting Drift
The opener’s travel limit tells it how far down to go. If the limit has drifted, the door thinks it’s reached the floor when it’s still six inches up. The opener will either stop early or reverse when it senses unexpected resistance. Re-setting the down limit takes two minutes and a stepladder. On LiftMaster and Craftsman openers with a three-button control, you set the limit with the up and down arrows on the wall panel. Check your opener’s manual for the exact sequence, which varies by model year.
Cause 5: Force Sensitivity Set Too Low
If the door’s force setting is too sensitive, the opener interprets normal resistance as an obstruction and reverses. This happens a lot in Hollywood’s older garages where the door might be slightly out of balance from years of humidity and heat cycling. The quick test: pull the release and run the manual lift check. If the door feels reasonably balanced but the opener still reverses, a slight force-setting adjustment may clear the problem. If the door feels heavy, do not compensate with the force setting. Fix the spring.
Cause 6: Damaged or Frayed Cable
A cable that’s frayed or off the drum will change how the door descends, causing uneven lowering that trips the sensors. Look at both cables where they wind onto the drums at the top of the door. If one cable looks bunched, frayed, or loose, stop using the door and call a professional. A cable under tension snapping is dangerous. This is not a DIY cable replacement. Trained technicians handle cable service with the proper tools and safety procedures every time. For guidance on vetting the right professional, see How to Hire a Garage Door Contractor in Hollywood: A Step-by-Step Guide.
Here’s the sequence we follow and recommend: check sensors, check spring for visible break, run the manual balance test, watch for a repeatable bind point, then look at settings and cables. Follow it in that order and you’ll find the real cause before spending money on parts that won’t fix it.
Working Fine, One Cycle Away From Failure: Signs to Catch Early
The doors that scare us most are the ones that “work fine.” A garage door can be one cycle away from a dangerous spring failure or cable snap while still opening and closing normally every day. Here’s what to look for during a routine visual inspection, the kind you can do while the door is closed and you’re standing in the garage.
Sign 1: Rust Staining on Spring Coils
Rust on a torsion spring isn’t cosmetic. Springs fail from metal fatigue, and rust accelerates the process by pitting the wire surface. A light rust film is normal in Hollywood’s coastal humidity. Heavy rust with flaking means the spring is reaching the end of its service life. Springs are typically rated for 10,000 cycles, which translates to roughly seven to ten years of normal use. If your door is approaching that age or you don’t know when the springs were last replaced, schedule an inspection.
Sign 2: Gap Widening Between Spring Coils
As a spring ages, the gaps between coils grow slightly as the metal stretches. Compare the gaps at the center of the spring to the gaps near the ends. If the center gaps are noticeably wider, the spring has lost tension and is stretching under load. This is a pre-failure condition. It’s not an emergency yet, but it’s directionally certain.
Sign 3: Door Drifts Down When Half Open
Disconnect the door with the emergency release and manually position it halfway up. Let go. A properly balanced door stays put. A door that drifts down is telling you the spring can no longer hold the door’s weight. The opener has been compensating by working harder, but that extra load is eating the opener’s gear. Catching this early lets you replace a spring before it breaks, which is cheaper than spring replacement plus opener gear replacement.
Sign 4: One Side of the Door Hangs Lower
Stand outside and look at the door’s bottom edge while it’s closed. The gap between the door and the floor should be even across the full width. If one side sits lower, a cable or spring on one side is compromised. The door is being held by one side of the tension system, and that’s a dangerous imbalance. This condition can cause the door to come off its tracks under load. It’s one of the most common emergency calls we get across Hollywood’s neighborhoods, from Emerald Hills to Hollywood Lakes.
Sign 5: Visible Fraying on Steel Cables
The lifting cables that wind around the drums at the top of the door are under constant tension. A single broken strand in a steel cable is a sign the cable is failing. Multiple broken strands mean replacement is urgent. Cable failure while the door is in motion can let the door drop. Do not operate a door with visibly frayed cables. Call a professional and keep the door in the closed position.
If you spot any of these five signs, you don’t need an emergency repair tonight, but you do need a technician within the next week or two. Catching a spring or cable before it fails saves hundreds in collateral damage and keeps everyone in the household safe. Garage door installation in Hollywood often happens because small warning signs were ignored until they became a full replacement.
Noise as a Diagnostic Tool: Grinds, Rattles, and Squeals
A garage door that works but makes noise is trying to tell you something specific. Each sound pattern maps to a different component. Here’s the shortcut we use to identify the source of a noise before touching anything.
- High-pitched squeal during movement. This is almost always a roller bearing or a hinge pin. If the squeal happens at a specific point in the cycle, the roller at that point is failing. If it’s constant, the rollers are all dry or worn. Silicone lubricant on the roller bearings and hinge pins quiets the noise temporarily. Replacing worn rollers eliminates it.
- Grinding or groaning from the opener motor. On a chain-drive opener, this is the drive gear stripping or the chain slipping. On a belt-drive opener, it’s the motor itself or the carriage assembly wearing. A grinding opener isn’t long for this world. It’s often cheaper to rebuild the opener than to wait for the gear to fail completely, which will strand the door closed.
- Rattling that gets worse as the door moves. Loose hardware. Bolts holding the track brackets to the wall, the hinges to the panels, or the opener to the ceiling all vibrate loose over time, especially in Hollywood where temperature swings between day and night cause metal to expand and contract. Go around with a socket wrench and tighten every bolt you can see. That single pass often quiets a noisy door dramatically.
- Loud pop during operation. A pop is usually a spring coil snapping or a cable strand letting go. If you hear a pop and the door still works, you’ve probably lost one strand of cable or one coil of a spring, not the whole unit yet. Schedule service. The remaining strands or coils are now carrying extra load and will fail soon.
- Thumping or banging as the door starts moving. This is often the spring binding as the door begins to lift, or a roller jumping a small gap in the track. Thumping that happens at the start of the cycle points to the spring. Thumping that happens mid-cycle points to the track or rollers.
One note on door lubrication: use a silicone-based lubricant or a purpose-made garage door lubricant, not WD-40. WD-40 is a solvent and degreaser that will strip the protective coating off the rails and actually make wear worse over time in Hollywood’s salt-tinged air.
Uneven Movement: Cables, Drums, and Track Alignment
An uneven door is the fastest path to a catastrophic failure, and the most common sign that someone’s been ignoring smaller problems for too long. If your door tilts, jerks, or one side lags during movement, here’s what’s happening and what to do about it.
The Two-Spring Illusion
Many doors have two torsion springs, one on each side. Homeowners assume that if the door moves unevenly, one spring is broken and the other is fine. That assumption is wrong. When one spring breaks, the other is nearly always at the same fatigue point. Replacing only the broken spring leaves you with an unbalanced door because the new spring is stronger than the old one. We always recommend replacing both at once, and any reputable technician will tell you the same. The springs were installed as a pair and they wear as a pair.
Cable and Drum Sync
The door hangs from cables that wind and unwind around grooved drums above the door. If one drum slips out of sync, one cable reels in faster than the other, and the door tilts. The first sign is a door that’s level when fully closed but starts to lean as it opens. The fix is re-balancing the cable by re-seating it in the drum’s groove and re-checking tension on both sides. This is high-tension work. A cable that jumps the drum under load can whip with enough force to cause serious injury. We strongly recommend leaving cable and drum work to a trained professional rather than operating on the tension system yourself.
Track Alignment and Roller Wear
If the door leans consistently to one side, the track itself may have shifted. A track bracket that’s pulled loose from the wall lets the track angle outward, which carries the door with it. Check the brackets where they meet the wall. If you see a gap where the bracket should be flush, the track has moved. This usually requires re-seating the bracket and possibly re-shimming the track. Worn rollers compound this: a roller with a shot bearing lets the door ride against the track edge, which compounds any track misalignment. In Hollywood, where salt air accelerates steel roller wear, we see rollers that need replacement about every five to seven years on doors used daily.
Any uneven movement, even slight, is worth a same-week service call. The imbalance puts uneven load on the springs, accelerates roller wear, and can eventually pull the door off its tracks entirely. The uneven symptom will not correct itself, and the longer it persists, the more expensive the repair becomes.
Common Mistakes to Avoid
- Replacing sensors without checking the track. The sensors are the easiest thing to blame, which is why they’re the most over-replaced part in garage doors. Run the diagnostic chain before buying parts. In Hollywood, the humidity makes tracks more prone to surface rust and pitting, which creates binding points that mimic sensor failures.
- Spraying WD-40 on everything. WD-40 is a solvent, not a lubricant. It cleans off the old grease and leaves metal dry. Use silicone spray or a garage-door-specific lubricant on rollers, hinges, and springs.
- Adjusting the force setting to mask a heavy door. If the door is heavy because the spring is tired, raising the force setting forces the opener to work harder. That cooks the opener’s gear and leaves you with two broken things instead of one.
- Only replacing one spring. Matched springs wear at the same rate. Replace both or you’ll be back for the second one within months, and the door will be unbalanced in the meantime.
- Lubricating or tightening the torsion spring yourself. The torsion spring holds the door’s entire weight under stored tension. It is the most dangerous part of the door system. Anything beyond a visual check belongs to a professional with winding bars and the right training.
- Ignoring a door that “works fine” but makes a new sound. A new sound is early-stage failure. A grind in the opener or a pop in the spring is the cheap-to-fix phase. Waiting turns it into the expensive-to-fix phase.
- Using a bent track because the door “still works.” A bent track works right up until the roller pops out of it, at which point the door can come off the tracks and the repair triples. Track repair when you first notice the bind is a fraction of the cost.
See the difference
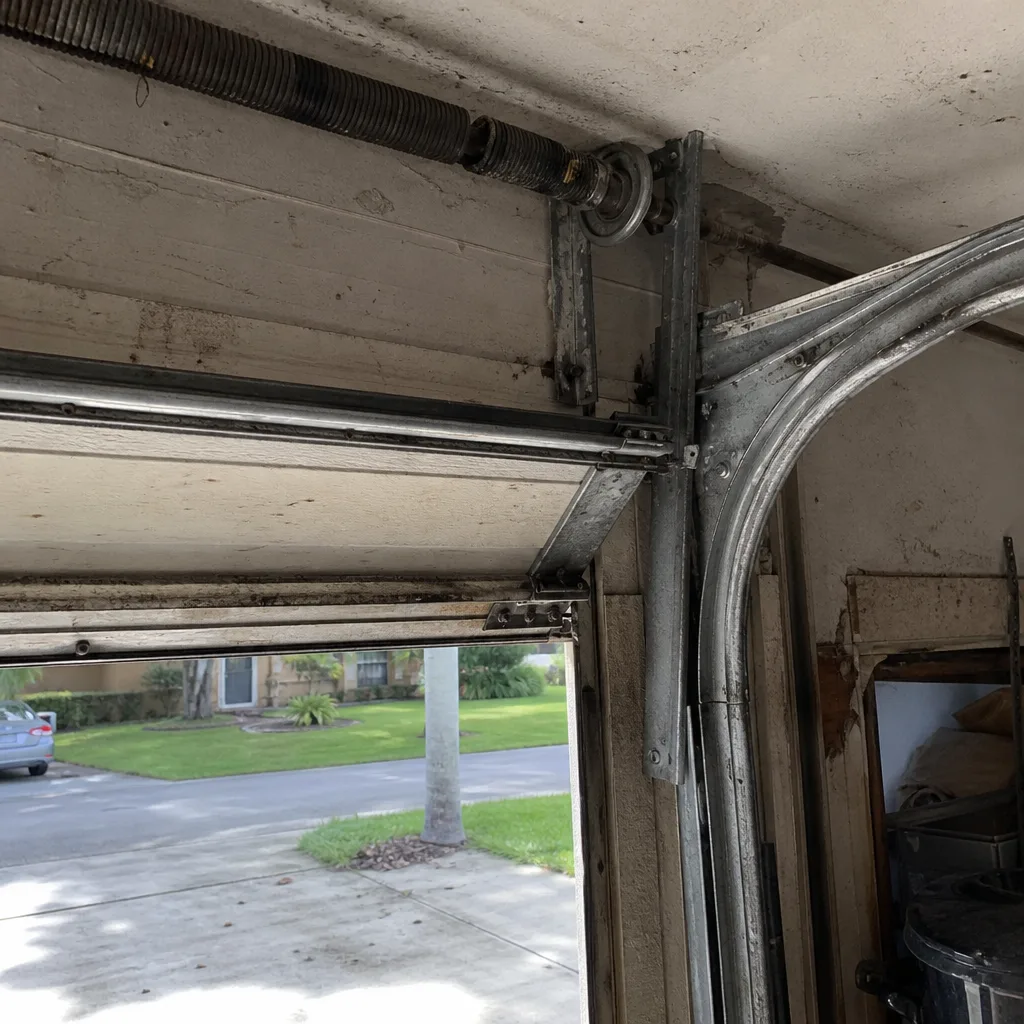 Before
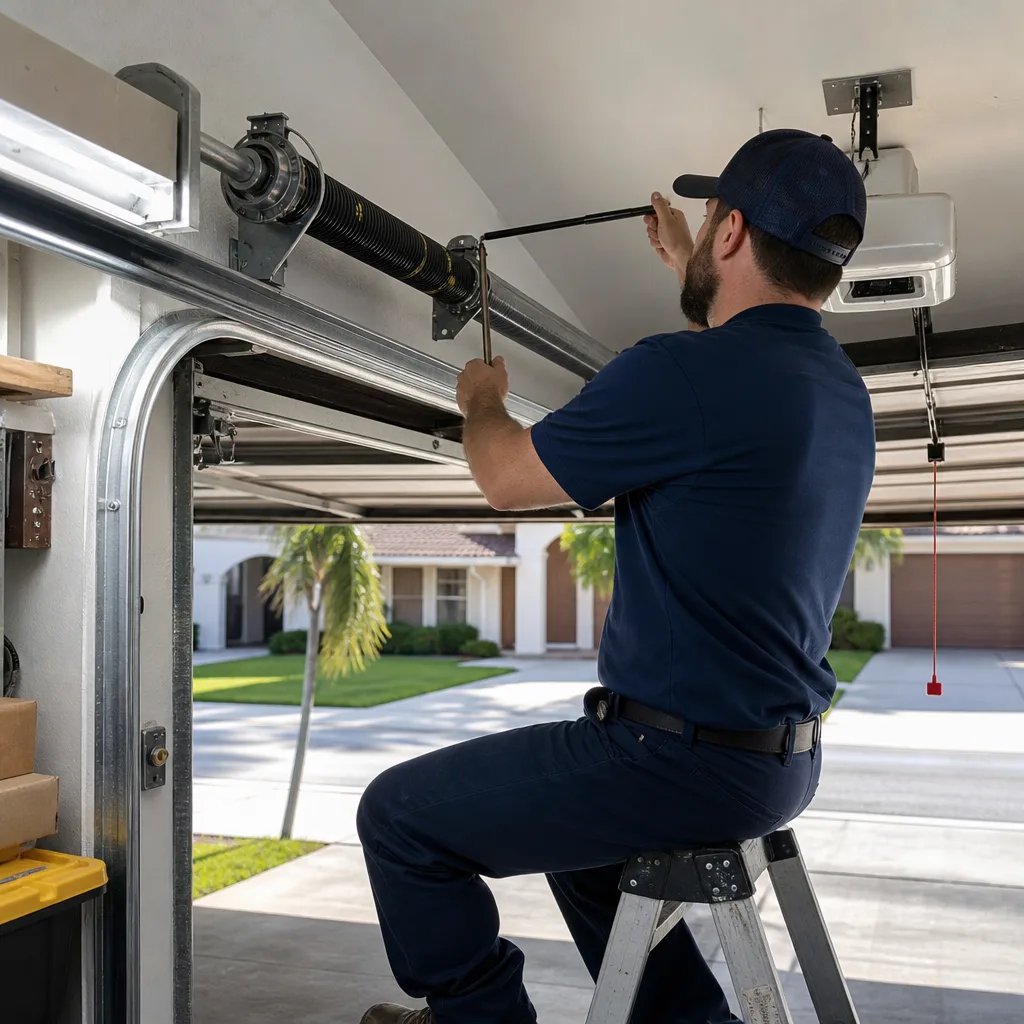 After
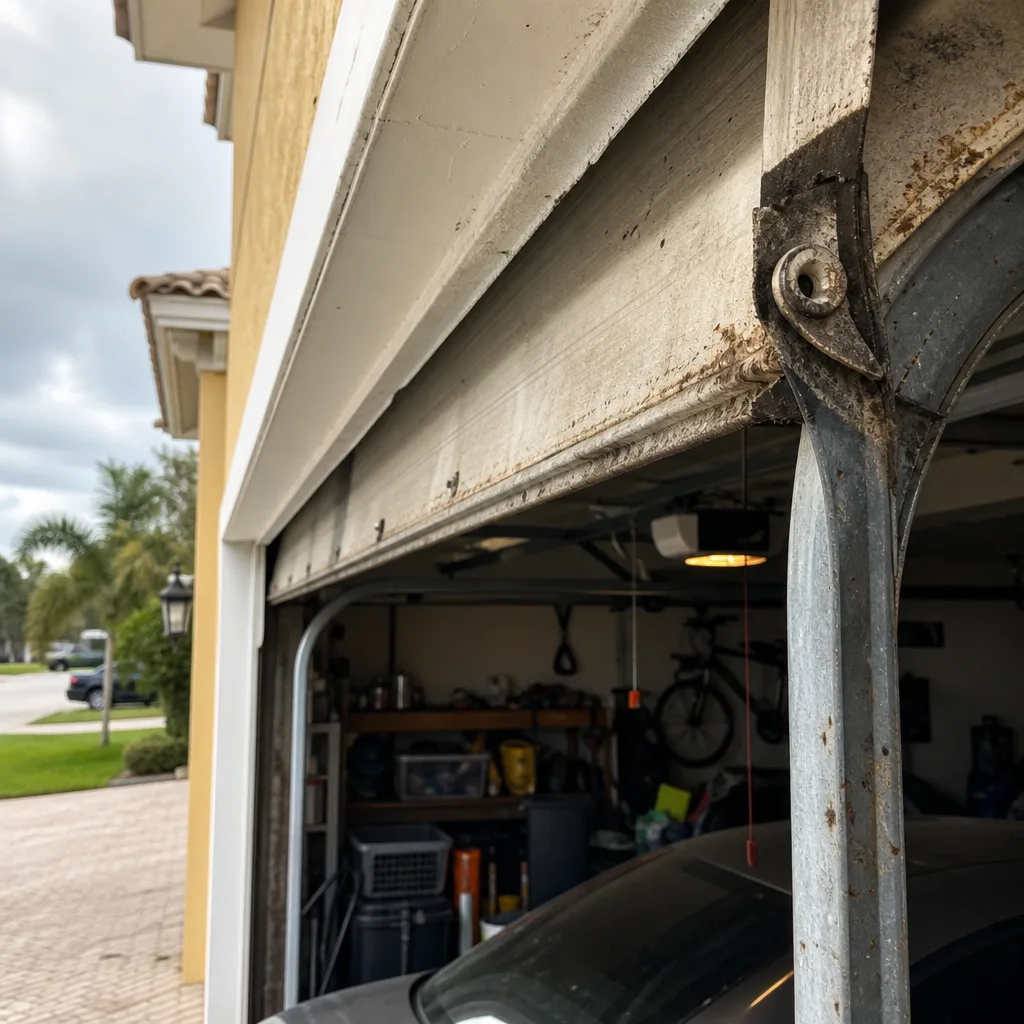
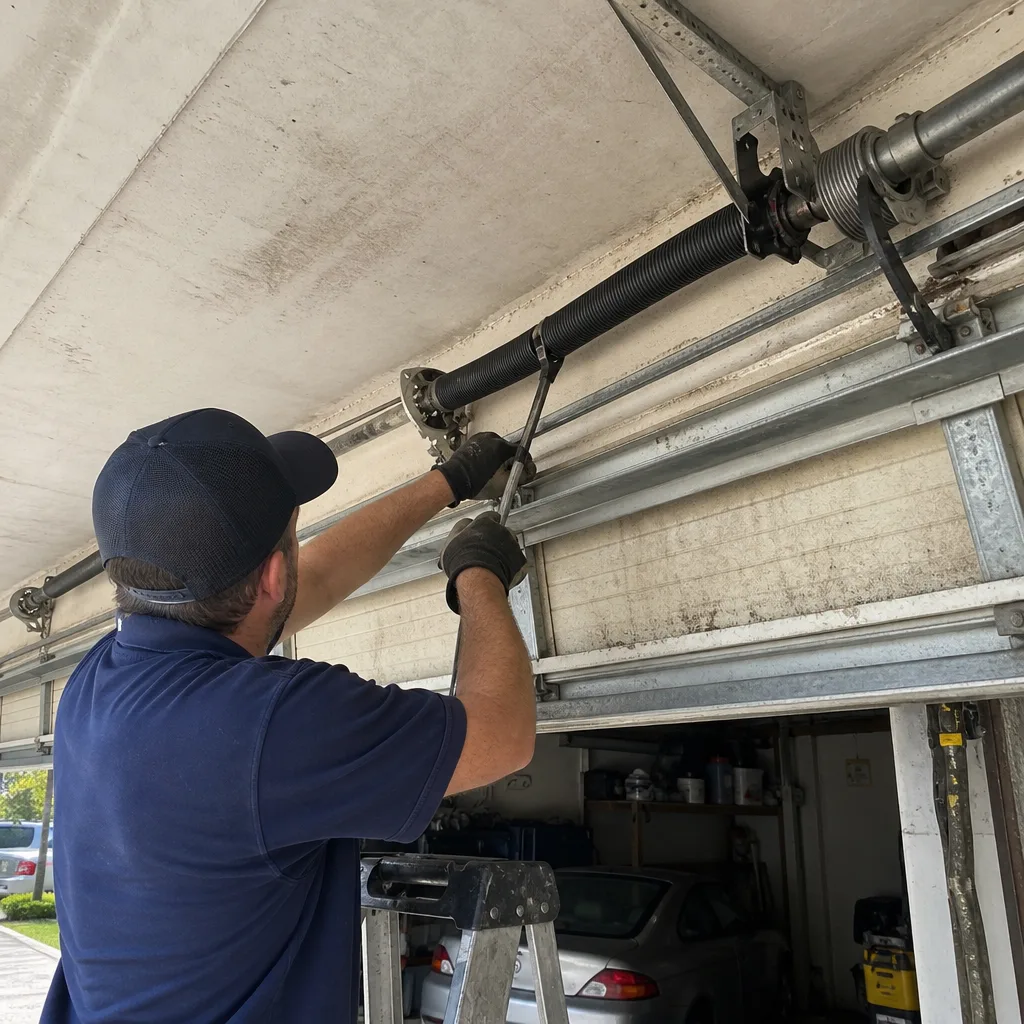 Before
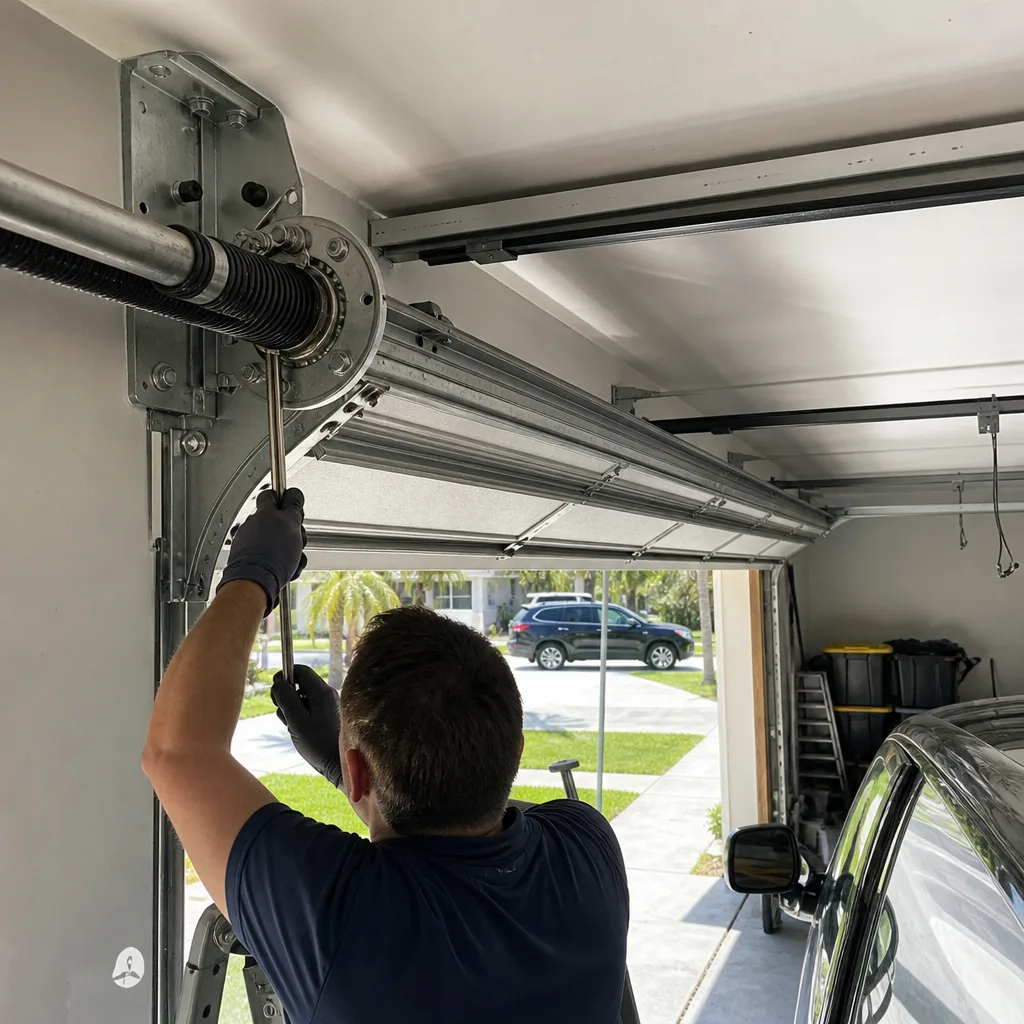 After
 Before
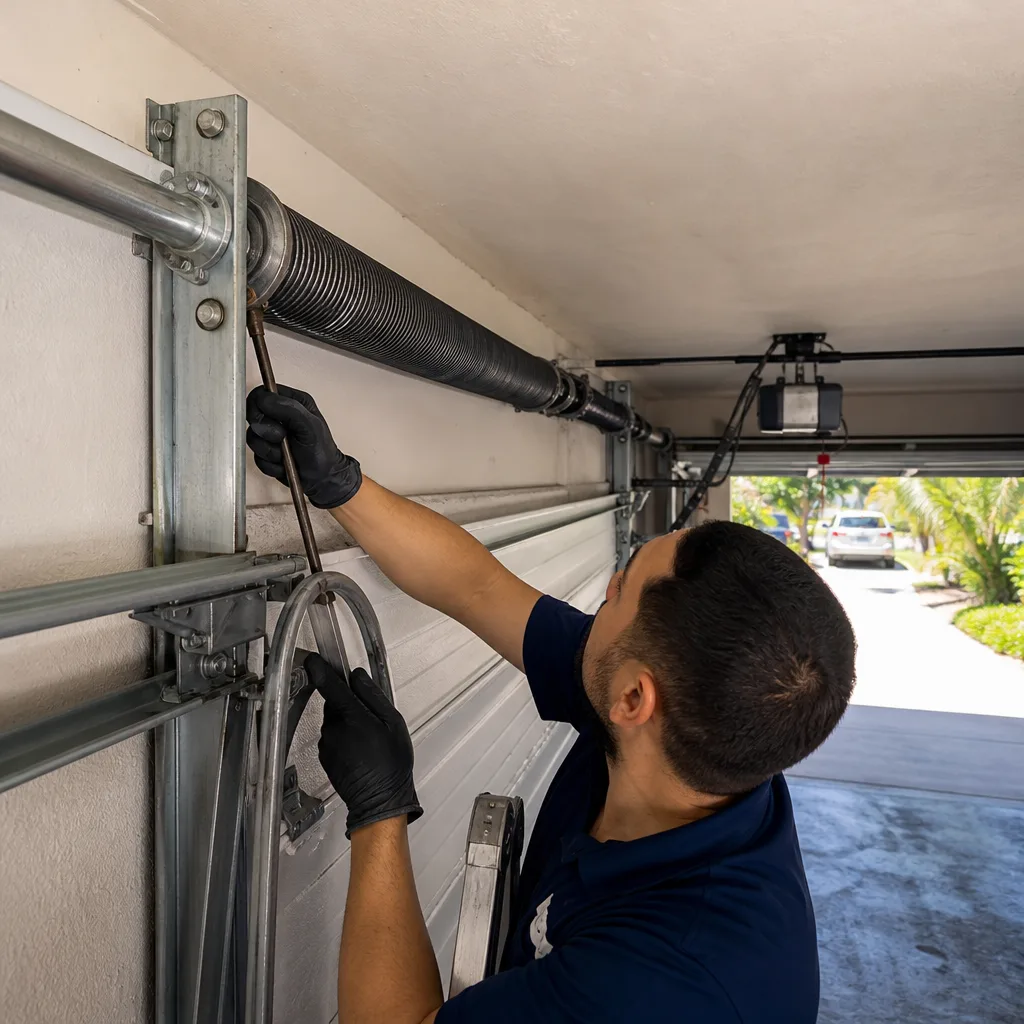 After
When to Call a Professional
Broken springs, frayed cables, a door off its tracks, and opener motor failures are professional repairs. These components hold stored tension or require disassembly that can seriously injure someone who’s not trained to handle them. A visual inspection is the safe end of your diagnostic work. The moment you identify a spring gap, a frayed cable, or a track that’s pulled loose, stop using the door and make the call. Benchmark Garage Door Repair home services every major brand and offers free estimates in Hollywood – call (833) 589-8332. Technicians will assess the door’s condition honestly and recommend the fix the door actually needs, not the one that’s easiest to sell.
Frequently Asked Questions
Typical garage door repairs in Hollywood run from roughly $150 for a simple roller or hinge replacement to $350 to $500 for torsion spring replacement, depending on the door’s size and spring configuration. Opener repairs fall in a similar range, with logic board replacement sometimes running higher. The exact quote depends on what the diagnostic finds, and the price is always confirmed before any work starts. For more guides & resources on maintenance and troubleshooting, explore our blog. Call (833) 589-8332 for a free estimate and a technician will inspect the door first, then quote the fix.
Most spring and cable repairs can be completed the same day, since technicians carry the common parts for LiftMaster, Chamberlain, and Craftsman openers plus torsion and extension springs on the truck. For larger projects or specialty parts, scheduling may take a day or two. The best way to know is to call (833) 589-8332 and describe the symptom; the dispatcher will tell you what’s realistic before anyone rolls a truck.
A door that opens but won’t close is almost always a sensor issue, a travel limit problem, or a track obstruction. The opener’s safety reversal system is designed to refuse closing when anything interrupts the sensor beam or when the door encounters unexpected resistance. Check the sensor alignment first, then look for a bind point in the track before you adjust any settings.
If the door is structurally sound, the panels aren’t rusting through, and the track is straight, spring replacement is a fraction of the cost of a new door. Spring replacement is a normal maintenance item that every door reaches eventually. If the door is 20-plus years old, rotted in places, or the track system is heavily worn, a full replacement may be the better long-term value. A technician who sells only one brand or one service can’t give you an honest answer. That’s the whole reason Benchmark diagnoses before recommending either way.
Hollywood’s concrete slabs shift with the seasonal water table and humidity, which causes minor cracking near the track mounts. Small hairline cracks are usually cosmetic. But if the crack widens or the track bracket is pulling away from the wall, the door’s alignment is affected and the track needs to be re-seated. The door puts constant outward pressure on the track, and if the mount points are compromised, that pressure has to go somewhere.
Once a year is the right interval for a visual inspection in Hollywood’s climate, where salt air and humidity accelerate spring and roller wear. The inspection includes checking spring tension, cable condition, roller wear, track alignment, and opener operation. It’s a 30-minute service call that usually costs less than the emergency repair it prevents.
The Bottom Line
Garage door troubleshooting is a process of listening to what the door is telling you, not a guessing game with parts. Start with the behavior: won’t move, moves and stops, moves and makes noise, or moves unevenly. Run the visual checks: the emergency release lift test, the spring gap check, the track inspection. Read the error codes for what they indicate, not what the manual simplifies them to. Replace springs in pairs. Leave anything under tension to a qualified technician. If the door shows any sign of imbalance, fraying, or new noise, that’s a warning shot. The fix is cheaper now than the failure will be later.
Written by the team at Benchmark Garage Door Repair, serving Hollywood since 2011.